25-step music production process checklist and video workshop >>>
7 Easy Home Recording Studio Changes That Can Improve Your Control Room Sound Straight Away

The 7 home recording studio changes you find below can all improve your sound to various degrees. Some are more expensive than others, so cherry-pick the ones you can do at the moment.
Every step you take to get closer to a great room is a step in the right direction because it's vital as a producer to have as accurate a response in your room as possible.
7 Home Recording Studio Tips:
- Build, or move into, a better room
- Fine tune your monitor placement
- Treat the room you're in well
- Get good monitor stands
- Add absorber pads under your monitors to decouple
- Bring in strategic studio furniture
- Upgrade any of your core home recording studio equipment
1. Build, or move into, a better room
The best option is obviously to build a room from scratch designed for the acoustic response you desire. OK. So we're not all so lucky or well-off to afford our own build-out. We need to make do with what we have!
Still, if you can even just move from a small square room with bad dimensions to a slightly larger rectangular room with better dimensions you can likely improve your sound.
Compare both rooms with an online room mode calculator and see which has the sexier curve. Set up in either room and listen to the same tracks in both. Use your ears and judgement to choose the best room.
You could get scientific about it with measurement devices and fancy analyzers, and that's all fine by me. Common sense and a small bit of acoustics knowledge will however carry you a long way. So, don't get bogged down with theory and just do what you can at first!
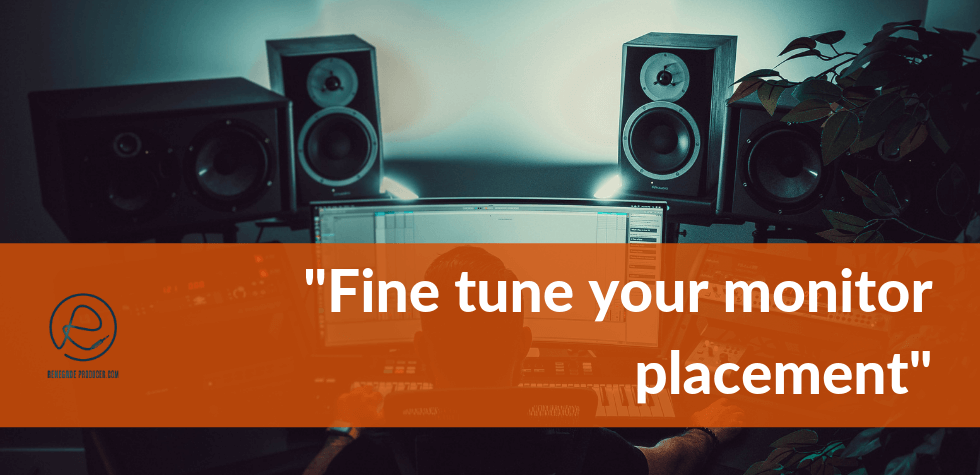
2. Fine tune your monitor placement

Way too many aspiring
producers and musicians fumble here. It's like they think high
frequencies are best perceived by their stomach! Why else point the
tweeters right at their belly? ;-)
They will open a whole new
world of sound when they raise the tweeters to point in the direction of
the ear. It'll be like removing a duvet from their head. Sweet
revelation!
Now, I know you're not one of them. Still, you may be able to improve
your own stereo image and ability to mix well with a few monitor
position tweaks.
What can you do to improve the position of your speakers in a home studio? Here's a few tips:
- Set up with your monitors facing the length of the room, not the width. You want as much space behind you as possible to reduce issues that could arise from rear-wall reflections.
- Keep your speakers away from wall and corners. Aim for at least 15" if at all possible.
- Aim for symmetry in terms of the surrounding structures. In other words, don't set up in a corner. If you have a wall to your left you want the same to your right and position your speakers right in the middle between the walls.
- Move your speakers closer and further apart until you find a position that has the best stereo image. Ask a friend to adjust the speakers little by little in terms of width apart while you sit in the listening position. Pay attention to the stereo field on a recording you know well. When the speakers are too close together the sound-stage will seem to narrow and when they're too far apart the middle will drop out leaving it sounding to loose. Find the spot where it's tight and instruments are well-separated.
- Get the tweeters at ear-level and try to have them point straight at your ears, or a little behind your head. Avoid having them pointing up or down as much as possible as this could introduce new acoustic issues.
The topic of monitor positioning can make for an article in itself. Check the 2 great home recording studio resources at the bottom of this page should you want to dig deeper into this area.
3. Treat the room you're in well
Once you have the best room and well placed monitors, you can usually improve your response with acoustic treatment. Treatment in smaller home recording studios usually includes the use of foam kits with absorbers, diffusers and bass traps. Just note that not all acoustic foam is created equal and you pay for what you get.
A better alternative in most cases is using rockwool to build your own acoustic panels and bass traps.
Learn about how to discover flutter echo, phase
cancellation issues, room modes and comb filtering. Next, figure out
whether you have any of these issues and fix them when you find them.
Try
to avoid the damned overkill and add only enough treatment to
compensate for your own room's issues without banning all reflections in
the room. Think padded living room more than Apple's anechoic chambers!
Take
note however that foam kits will only get you so far. You cannot
expect anything near the results you'd get with a custom build. Any
attempt to compensate for sonic flaws in your your room is however
better than none at all.
The main things to focus on with small-room acoustic treatment in order of impact on your sound:
- Bass issues. The low-end will almost always be an issue in small rooms. So, treat your corners with bass-traps first and foremost.
- First reflections. These are the points to your side and above your listening position where sounds from your speakers will reflect first and bounce straight back to your head. This is the first place you want to treat, usually with absorption, sometimes with diffusion, sometimes even both. The aim here is simple to create a reflection-free zone so you hear what comes out the speaker and not a combination of direct and reflected sounds.
- Diffusion. Diffusion scatters reflections in different directions so you decrease the likelihood of acoustic issues like standing waves that occur between flat parallel surfaces. Now of course you can buy or build diffusers but be warned this can involve quite a bit of carpentry or significant expenditure. A good and cheap alternative is to place a bookshelf where you want diffusion. This will often be the rear-wall behind your listening position.
Make sure to watch this excellent talk by Bobby Owsinksi before you treat your room. It'll save you a lot of time and money:
4. Get good monitor stands
You want to avoid resonance which can introduce unwanted sound into what you play back before it hits your ear.
Placing your speakers on a desk can cause all types of issues due to reflections.
So, you may have a bump in your frequency response in the mids and overcompensate for it when you mix which results in mixes that don't translate too well to other systems.
Free-standing speaker stands go a long way in reducing these types of issues. Some monitor stands are hollow
which allows you to fill them with sand for extra dampening of
vibrations that could cause resonance issues.
The stands I just
mentioned above can be expensive so consider cheaper stands if the
manager of your trust fund is concerned with your spending habits. ;-)
5. Add absorber pads under your monitors to decouple
You know the ones. The wedges made by Auralex and other acoustic foam manufacturers. Probably one of the least costly upgrades you can make which will help you decouple your speakers from the surface they sit on. Without decoupling your desk or stands will vibrate in sympathy with your speakers.
Add these with or without stands. Massive difference? I'd say more of a slight change. Think of them as a bit of peace of mind insurance. I can't see how these could hurt your sound though so I say get a pair if you can! They also allow you to angle your monitors which could improve your sound in few instances.
Another, more pricey alternative that works well are the speaker stands from IsoAcoustics that do the job with noticeable improvement in the sound.
These are perfect if your speakers are on your desk as it allows you to raise them and also angle them if needed.
Are they worth it? In short, yes. You can expect to have a tighter low-end and low-mid response from your speakers as these stands decouple at several points in their frame. They're much sturdier and robust than they may seem in a picture!
Just remember they come in different sizes so make sure you get ones that'll fit your speakers.
6. Bring in strategic studio furniture

OK, so this is a form of acoustic treatment. I cheat when I make it a point in it's own right. Still, a well-placed sofa, glass-less picture frames or stocked bookshelf can add diffusion and possible absorption of higher frequencies.
Experiment
with it!
7. Upgrade any of your core home recording studio equipment
Certain pieces of home recording studio gear are crucial to your sound.
These include your monitors, AD/DA convertors, pre-amps and microphones. Get the best you can afford in each of these areas, whenever you can spare some savings or win big at the tables.
Every improvement in your signal chain means you get closer being able to get the sound you want in your home recording studio. Each upgrade however comes with it's own learning curve during which you'll have to find your feet. So, while it may take a while before you get to the response you want from your room, each little step gets you closer. Just keep plugging away!
I highly suggest, if you're serious about it, that you check out the following 2 books to learn more about how to improve your home recording studio sound:
"Mixing With Your Mind" by Michael Stavrou
"Mixing Secrets For The Small Studio" by Mike Senior


Learn to understand equalisers and frequencies to supercharge your mixing skills and get results, fast...

New producer? Learn everything you need to produce your first professional track right now...

Would you like to discover the simplest and easiest way to learn music theory as a music producer?
Share this post. Spread the knowledge so other producers can benefit too:
- Renegade Producer
- Home Studio
- Home Recording Studio Tips
ⓘ Some pages contain affiliate links so I might earn a commission when you buy through my links. Thanks for your support! Learn more


